Welcome, Garmin users! If you’ve recently purchased the Garmin Venu 3 or are considering getting one, you’ve come to the right place.
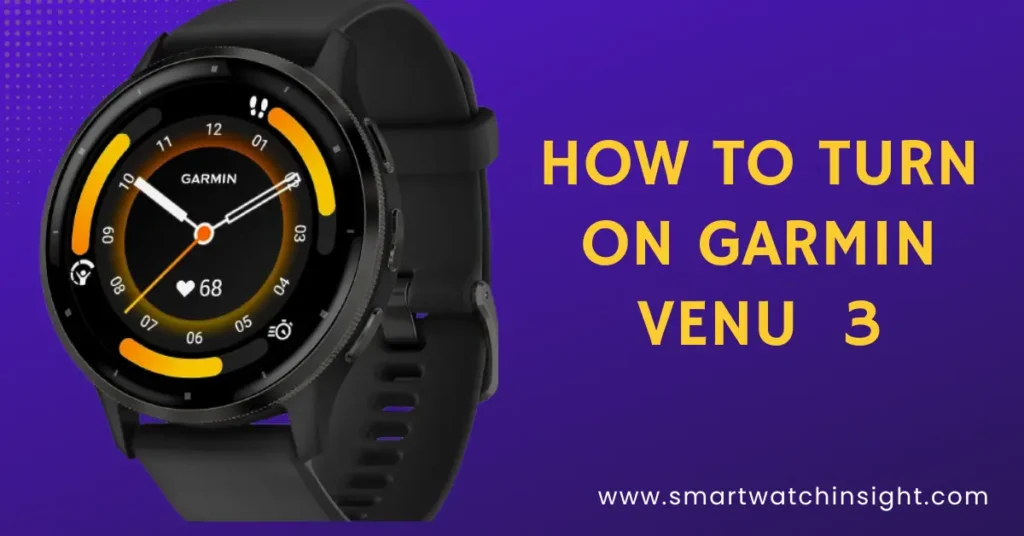
In this blog post, we will guide you through the process of How to Turn on Garmin Venu 3 and get started with this versatile and feature-packed smartwatch.
Garmin Venu 3 is a premium smartwatch designed for fitness enthusiasts and those who lead an active lifestyle.
Packed with advanced features and built-in sports apps, it is the perfect companion for tracking your activities, monitoring your health, and staying connected on the go.
How to Turn on Garmin Venu 3
It’s important to note that the process of turning on the Garmin Venu 3 may vary slightly depending on the specific model and software version you have. However, the following steps should generally apply to most models. Let’s get started!
Step 1: Charge Your Garmin Venu 3
Before turning on your Garmin Venu 3, it is crucial to ensure that it has sufficient battery power. To charge your smartwatch, follow these simple steps:
- Connect the charging cable to the USB port of a computer or a wall adapter.
- Attach the other end of the cable to the charging port on the back of your Garmin Venu 3.
- Ensure that the pins on the charging cable align with the charging ports on the watch.
- Once connected, your Garmin Venu 3 will display a battery icon indicating that it is charging.
It is recommended to fully charge your smartwatch before powering it on to ensure optimal performance.
Step 2: Power On Your Garmin Venu 3
Now that your Garmin Venu 3 is charged, it’s time to power it on. To turn on your smartwatch, follow these simple steps:
- Locate the power button on the side of your Garmin Venu 3.
- Press and hold the power button until the Garmin logo appears on the screen.
- Release the power button once the logo appears.
Your Garmin Venu 3 will now begin the startup process, initializing the software and preparing for use. This may take a few moments, so be patient.
Step 3: Set Up Your Garmin Venu 3
Once your Garmin Venu 3 is powered on, you’ll be prompted to set it up for first-time use. Follow these steps to get started:
- Select your preferred language from the list provided on the screen.
- Follow the on-screen instructions to sync your Garmin Venu 3 with your smartphone.
- Install the Garmin Connect app on your smartphone if you haven’t done so already.
- Open the Garmin Connect app and follow the prompts to complete the setup process.
During the setup process, you’ll have the opportunity to personalize your Garmin Venu 3, including setting the correct time, date, and other settings according to your preferences.
Take your time to explore the various options and make any adjustments as necessary.
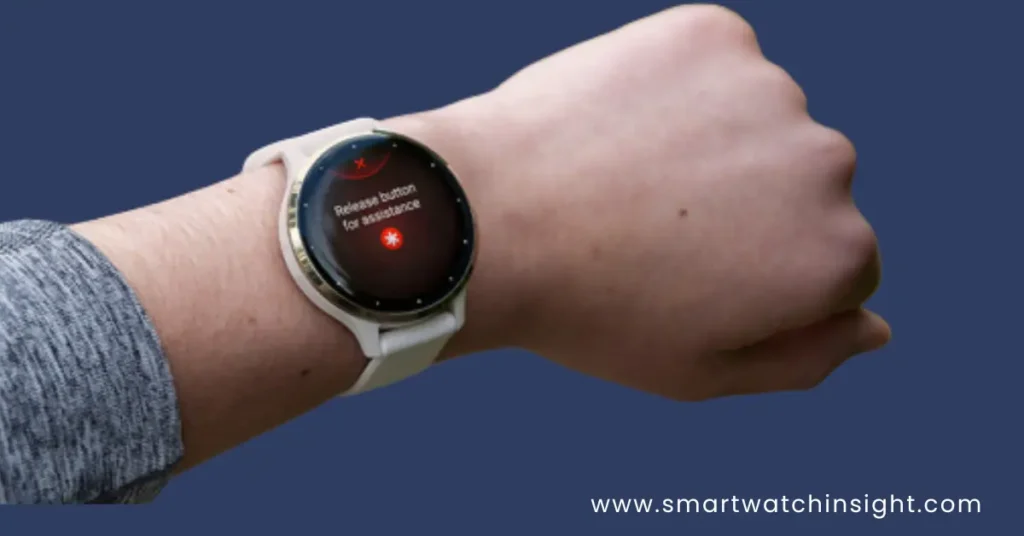
How to Turn on Garmin Venu 3
There are two ways to turn on your Garmin Venu 3:
- From the watch:
- Press and hold the top button for about 3 seconds.
- The watch will turn on and the Garmin logo will appear on the screen.
- From the Garmin Connect app:
- Open the Garmin Connect app on your phone.
- Tap on the Devices tab.
- Select your Garmin Venu 3.
- Tap on the Settings icon (gear icon).
- Scroll down and tap on Power On.
- Your watch will turn on.
Once your watch is turned on, you will need to set it up. This includes pairing it with your phone and configuring the settings. You can find more information on how to set up your Garmin Venu 3 in the user manual.
Step 4: Explore the Features of Your Garmin Venu 3
Congratulations! You’ve successfully turned on your Garmin Venu 3 and completed the initial setup. Now it’s time to familiarize yourself with the features and capabilities of your new smartwatch. Here are some key features to get you started:
Activity Tracking
One of the main attractions of the Garmin Venu 3 is its advanced activity-tracking capabilities.
Whether you’re running, cycling, swimming, or engaging in other sports, your smartwatch can accurately track your movements, distance, heart rate, and more.
Use the built-in sports apps to select your preferred activity and let the Garmin Venu 3 do the rest.
Health Monitoring
The Garmin Venu 3 goes beyond just tracking your activities. It also monitors your health and well-being throughout the day.
Keep an eye on your heart rate, stress levels, sleep quality, and even hydration levels using the preloaded health monitoring features. Use the Garmin Connect app to view detailed insights and trends over time.
Smart Notifications
Stay connected on the go with the smart notification feature of your Garmin Venu 3.
Receive calls, texts, emails, and other app notifications on your wrist, allowing you to stay informed without having to reach for your smartphone.
Customize your notification settings to prioritize what matters most to you.
Music Streaming
If you enjoy listening to music during your workouts, you’ll love the music streaming capabilities of the Garmin Venu 3.
Simply connect your smartwatch to your favorite music streaming service or transfer your own music files to enjoy your favorite tunes directly from your wrist. Pair your smartwatch with Bluetooth headphones for a truly wireless experience.
ALSO READ >>> How to Turn Off Garmin Venu 3
Conclusion: How to Turn on Garmin Venu 3
In this blog post, we walked you through the process of how to turn on Garmin Venu 3 and get started with this amazing smartwatch.
From charging your device to setting it up and exploring its features, we hope you now feel confident in using your Garmin Venu 3 to its full potential.
Remember, the Garmin Venu 3 offers much more than what we covered in this blog post. Take your time to explore its various features, experiment with different activities, and make the most of this versatile smartwatch.
Whether you’re a fitness enthusiast or simply looking to lead a healthier lifestyle, the Garmin Venu 3 is an excellent tool to help you achieve your goals.
If you have any further questions or need assistance, refer to the user manual provided with your Garmin Venu 3 or visit the official Garmin website for detailed support information. Enjoy your new smartwatch and happy tracking!

