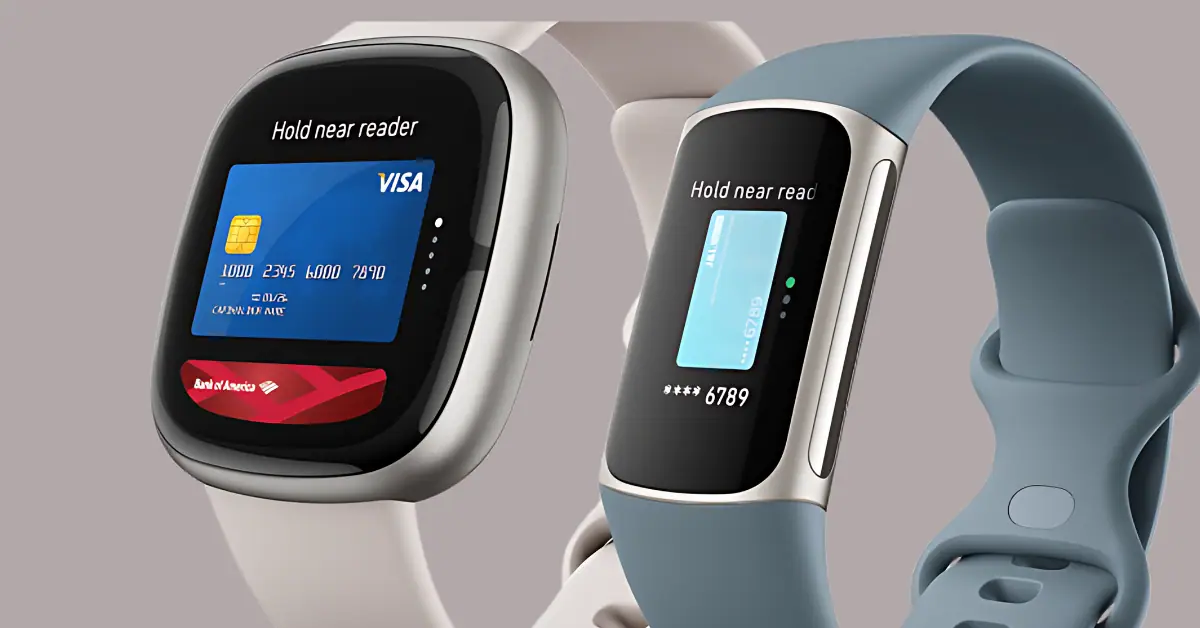
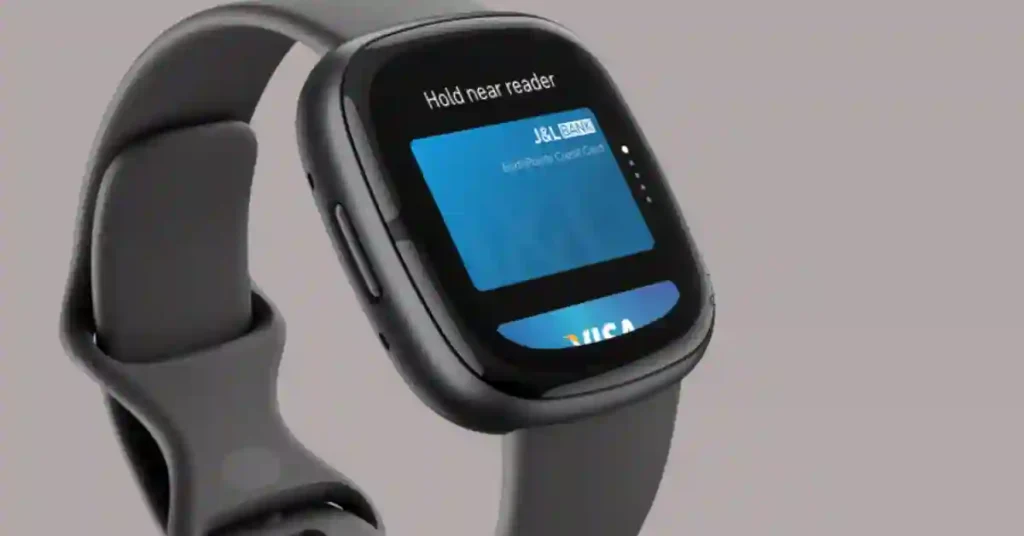
After July 29, Fitbit Pay will no longer be accessible. This change is part of our ongoing efforts to enhance your Fitbit experience. In the upcoming months, Google Wallet will take Fitbit Pay’s place as it closes, offering a more robust and versatile contactless payment system.
The Fitbit team emailed consumers that it is improving its contactless payment capability (via Droid Life). The firm adds that Wallet, which will replace Fitbit Pay after July 29, “will increase the number of banks and cards available for contactless payments on your Fitbit device.”
Let’s walk through how to make this change smoothly so you can keep using your favorite cards on your Fitbit. Say goodbye to Fitbit Wallet and hello to the future of easy payments with Google Wallet!
Fitbit Pay will remain available in Taiwan, Japan, and Saudi Arabia residents after July 29.
How Do I Change Fitbit Pay to Google Wallet?
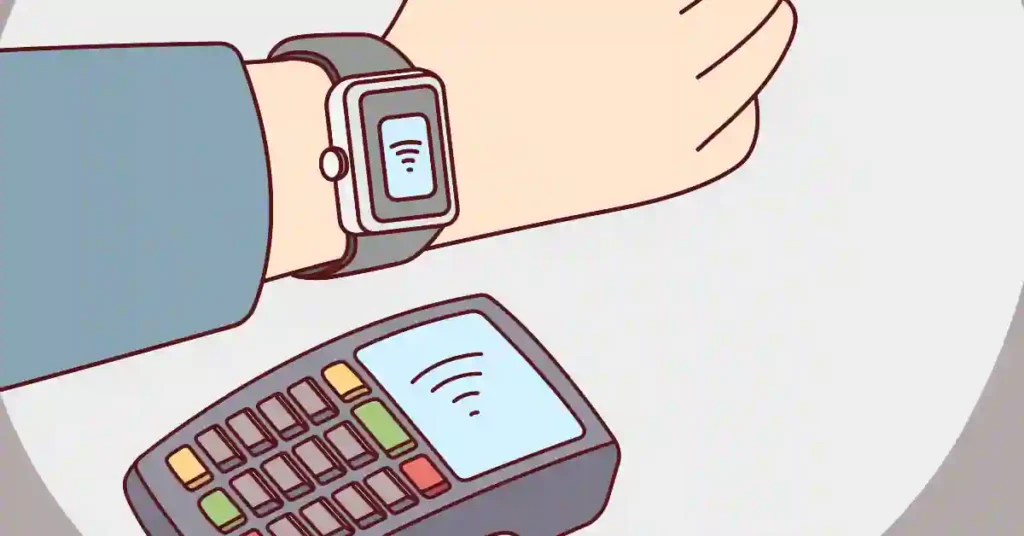
Are you a Fitbit user looking to transition from Fitbit Pay to Google Wallet? This step-by-step guide will walk you through migrating your payment card and switching to the new mobile payment platform.
Google Wallet is expanding its reach. It is now available on all Charge, Sense, and Versa devices that support contactless payments. It means you have even more options for making convenient purchases with your Fitbit watch.
Note: All Fitbit devices are not compatible with Google Wallet.
- Open the Fitbit App: Make sure your Fitbit device is nearby, and open the Fitbit app on your phone.
- Navigate to the Today Tab: Tap on the “Today” tab within the app.
- Select Your Device: Tap on the icon representing your compatible Fitbit device.
- Access Wallet Settings: Look for the “Wallet” tile and tap on it.
- Update to Google Wallet: You’ll see an option to “Update to Google Wallet.” Tap on it.
- Sign In to Your Google Account: Follow the on-screen instructions to sign in to your Google account.
- Add a Payment Card: Once signed in, you must add a supported debit or credit card to Google Wallet. You can scan your card using your phone’s camera or manually enter the card details.
- Set a 4-Digit PIN: For security, set a 4-digit PIN for your Fitbit device to use with Google Wallet. This PIN will be required for all transactions, ensuring that only you can use your Fitbit device for payments.
- Make Default Card (Optional): You can choose a default card for tap-to-pay transactions if you have multiple cards.
Remember, your cards won’t be automatically migrated from Fitbit Pay to Google Wallet, so you must add them manually.
But once you do, get ready to enjoy the convenience and security of using Google Wallet for contactless payments with your Fitbit device!
For more details, refer to the official guide. If you encounter any issues during the process, remember that assistance is just a request away. We’re here to help!
What Are The Benefits of Using Google Wallet?
Google Wallet offers several benefits over traditional wallets and even Fitbit Pay:
Convenient Payments: Google Wallet, a globally popular digital payment solution, allows you to store your credit and debit cards securely.
You can use it for contactless in-store payments by tapping your phone on card readers with the Google Pay or Google Wallet symbol.
This feature has gained significant traction in regions like the UK and the United States.
Online and In-App Purchases: Google Wallet is not just for physical stores. It’s your go-to for online payments and in-app purchases. Whether buying online or grabbing your morning coffee, Google Wallet simplifies payment.
Peer-to-Peer Money Sending: You can send money to friends and family using Google Wallet. It’s a convenient way to split bills or share expenses.
Rewards and Offers: Google Wallet provides insights into your spending habits and allows you to earn rewards on eligible transactions. Additionally, you can find special offers from your favorite merchants.
Centralized Information: Google Wallet allows you to load various items, including loyalty cards, gift cards, concert tickets, plane tickets, health passes, and more.
By keeping all this vital information in one place, Google Wallet eliminates the need to carry physical cards and helps you stay organized.
Remember that Google Wallet also offers advanced security features, such as tap-to-pay, which hides your real card number and ensures that only you can confirm contactless card payments using your biometric information.
With Google Wallet, you can enjoy the convenience and peace of mind of knowing your transactions are secure!
How Do I Add Cards to Google Wallet?
If you want to add your debit or credit card to Google Wallet, follow these steps:
Using the Google Wallet App
- Open the Google Wallet app on your phone.
- At the bottom of the screen, tap “Add to Wallet.”
- Choose “Payment card.”
- They’ll be displayed if you’ve saved cards to your Google Account.
- Tap “New credit or debit card.”
- You can use your camera to scan the card or manually enter the card details.
- After adding the card, tap “Save and continue.”
- Read and accept the issuer terms.
- Your card is now ready for payments in stores, online, or within apps where Google Pay is accepted.
Using Your Bank’s App or Website
- Open your mobile banking app or visit your bank’s website.
- Log in to your account.
- Look for the “Add to Google Wallet” or “Add to GPay” button and tap it.
- Follow the on-screen instructions.
- Your card or financial institution may not support this feature if you can’t find the button. Contact your bank for more details.
Remember that after adding a card, you might see a small transaction on your Google Wallet account. This transaction is a validation check and will soon disappear without affecting your balance. Enjoy the convenience of contactless payments with Google Wallet!
Can I add loyalty cards and gift cards to Google Wallet?
You can store and use digital copies of your loyalty and gift cards in Google Wallet. Here’s how you can add them:
Loyalty Cards:
- Open the Google Wallet app.
- Tap “Add to Wallet.”
- Select “Loyalty card.”
- Find and tap the merchant or loyalty program name. You can also search for it.
- Follow the on-screen instructions.
- The loyalty program isn’t supported if you can’t find the merchant or loyalty program name.
Loyalty Cards via Gmail:
- Google Wallet automatically adds loyalty cards from your Gmail inbox when the “Smart features and personalization in other Google products” control is turned on.
- Open the Gmail app on your Android phone.
- Tap Menu > Settings > the account you want to change.
- Turn on “Smart features and personalization in other Google products.”
- If you delete the email with the loyalty card, the pass is removed from Google Wallet. Deleted messages stay in your trash for 30 days, after which they are permanently deleted.
Gift Cards:
- Open the Google Wallet app.
- Tap “Add to Wallet.”
- Select “Gift card.”
- Find and tap the merchant or gift card name. You can also search for it.
- You may be able to scan your gift card or enter the card info manually.
- Follow the on-screen instructions.
- Note that Google Play gift cards aren’t supported.
Adding from a Partner’s Website or App:
- Open the pass issuer’s website, app, or email.
- Sign in if needed.
- Select “Add to Google Wallet” or “Add to GPay.”
- The options on the pass issuer’s site are typically found under “Tickets,” “Passes,” or “Cards.”
Using Loyalty or Gift Cards:
- Open the Google Wallet app.
- Tap the loyalty or gift card you want to use.
- Ask the cashier to scan the barcode. If there’s no barcode, provide your membership number.
- Some loyalty card programs even allow you to tap your phone to the terminal for quick application.
Removing a Loyalty Program or Gift Card:
- Open the Google Wallet app.
- Tap the loyalty program or gift card you want to remove.
- In the top right, tap “More” and select “Delete card.”
Remember that the Google Wallet app limits how many gift cards you can add. Enjoy the convenience of having all your cards in one place.
Q. What is Google Wallet?
Google Wallet is a digital wallet app that allows you to store your payment cards, boarding passes loyalty cards, and other digital items on your phone or Fitbit watch for convenient and secure contactless payments.
Q. Which Fitbit is Compatible with Google Wallet?
Google Wallet is compatible with most Android phones with NFC technology and select Fitbit models like Versa 4, Sense 2, and most recent Charge models (except for some)
Q. How do I add a Card to Google Wallet?
Open the Google Wallet app, tap “Add to Wallet,” follow the instructions, and verify your card if needed.
Q. How do I pay with Google Wallet?
Unlock your phone or Fitbit watch, hold it near the contactless payment terminal, and look for the checkmark to confirm the transaction.
Q. Is a PIN Required for Google Wallet Payments?
Yes, you might be required to set a PIN for additional security when using Google Wallet.
Q. Is Google Wallet Secure?
Yes. Google Wallet uses advanced security measures like tokenization and encryption to protect your card information during transactions.
Q. How to Switch from Fitbit Pay to Google Wallet?
Switching to Google Wallet from Fitbit Pay is simple:
1. Open the Fitbit app.
2. Go to “Today” and tap your device icon.
3. Find the “Wallet” section and tap “Update to Google Wallet.”
4. Sign in to Google and add your card.
5. Verify with your bank if needed.
Remember, check if your Fitbit model supports Google Wallet before starting.

